CVT Automatic Transmission (Service Information): Clutch: Disassembly: Disassembly
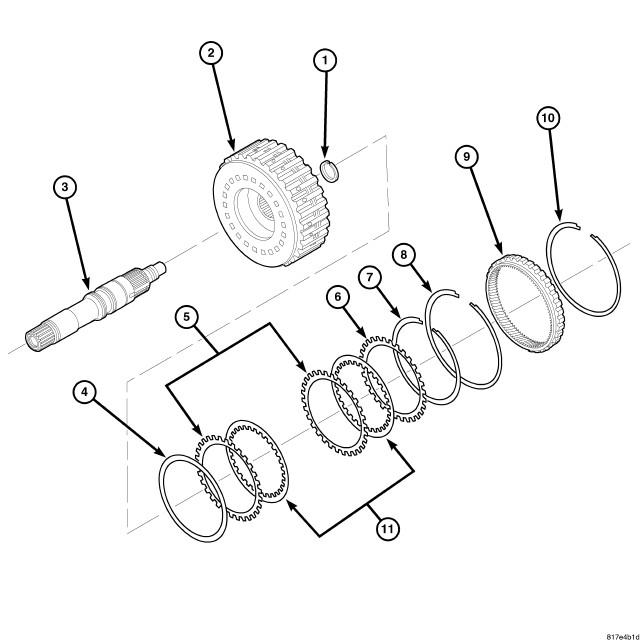
| 1 - Snap Ring |
| 2 - Forward Clutch Drum |
| 3 - Input Shaft |
| 4 - Dish Plate |
| 5 - Driven Plate |
| 6 - Retaining Plate |
| 7 - Snap Ring |
| 8 - Snap Ring |
| 9 - Internal Gear |
| 10 - Snap Ring |
| 11 - Drive Plate |
NOTE:
Refer to the exploded views as necessary when performing the following steps.
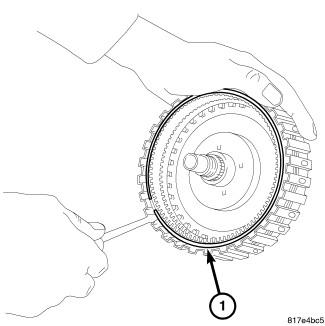
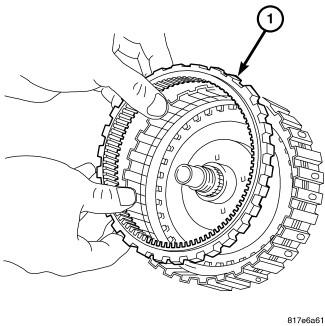
- Remove the snap ring (1) from the forward clutch drum using a flat head screwdriver.
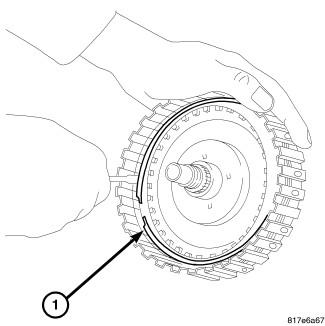
- Remove the internal gear (1) from the forward clutch drum.
- Remove the snap rings (1) from the forward clutch drum using a flat head screwdriver.
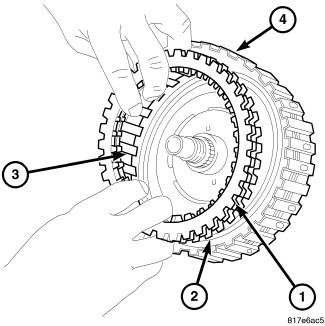
- Remove the retaining plate (1), the drive and driven plates (3), and the dish plate (2) from the forward clutch drum (4).
CAUTION:
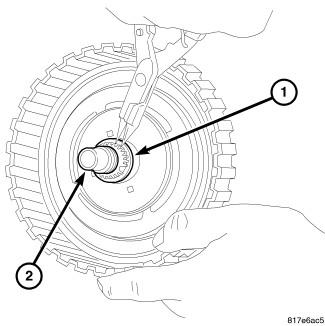
Do not expand the snap ring beyond necessity and do not deform it.
- Remove the snap ring (1), and remove the input shaft (2) from the forward clutch drum.
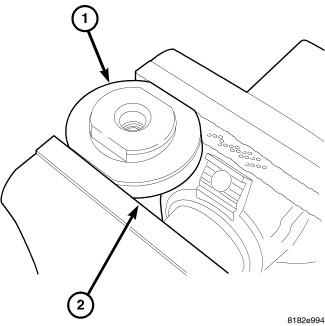
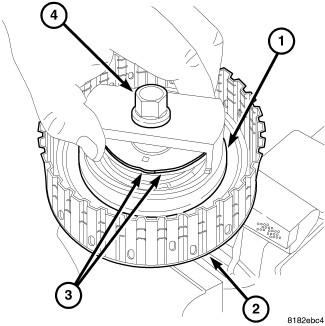
- Place bottom of Compressor (special tool #8900A, Multi Use Spring Compressor) (1) in Vice (2).
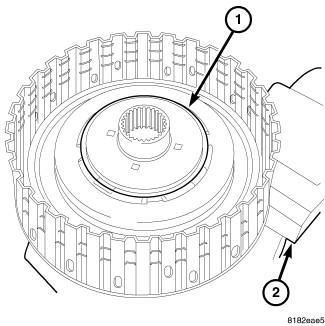
- Place the drum (1) over Compressor bottom (special tool #8900A, Multi Use Spring Compressor) in Vice (2).
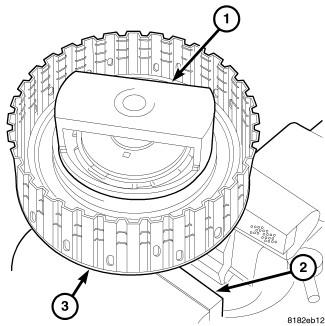
- Place correct ring (1) that comes with Compressor (special tool #8900A, Multi Use Spring Compressor) in drum (3).
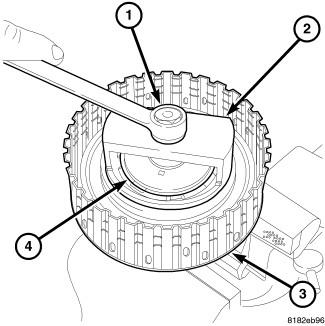
- Install threaded rod (1) that comes with Compressor (special tool #8900A, Multi Use Spring Compressor) (2) in drum (3).
- Compress tool until the snap ring (4) can be removed.
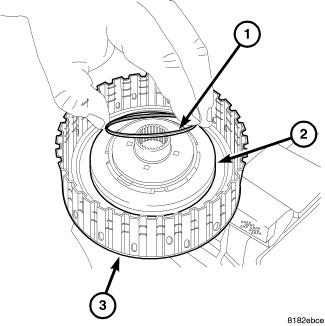
- Use snap ring pliers or a small screw driver to remove the snap ring (3) from the piston (1).
- Remove snap ring.
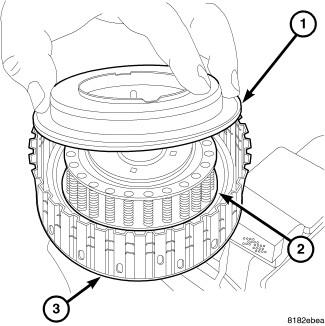
- Remove the piston (1) from the drum (3).
- Remove the spring assembly (2) form the drum (3).