Clutch, 3-5 Reverse: Disassembly: Disassembly
The 3-5-Reverse (3-5-R) Clutch is located under the fluid pump, in the center of the input shaft, inside of the 2-6 brake discs and plates. The clutch includes a retainer and shaft, selective snap-ring, five discs, five plates, reaction plate, balance piston, bellville return spring, and a piston. The 3-5-R clutch balance piston is equipped with a integral seal that cannot be replaced. If the seal is faulty the balance piston must be replaced. The 3-5-R clutch piston is equipped with and inner and outer D-ring seals. The 3-5-R clutch has a series of alternating steel plates separated by fiber discs. When applied it drives the 2-6 brake discs and the overdrive clutch hub. The free play of the 3-5-R clutch is controlled by a select snap-ring that the thickness can be changed to tighten or loosen the clutch. Refer to SPECIFICATIONS .
- Remove the transaxle. Refer to REMOVAL .
- Disassemble the transaxle to gain access to the 3-5-R clutch. Refer to DISASSEMBLY .
- Remove the 3-5-R clutch from the transaxle.
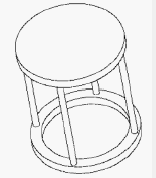
- Optionally, place the 3-5-R clutch on tool.
(special tool #8285, Compressor, Spring)
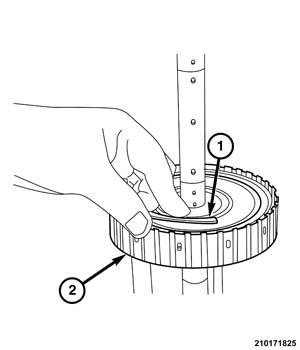
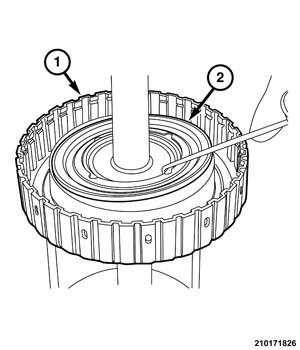
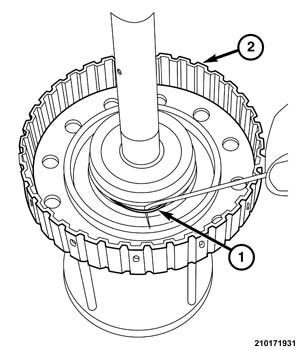
- Using a suitable screw driver, pry the snap-ring out (1) of the 3-5-R clutch retainer (2).
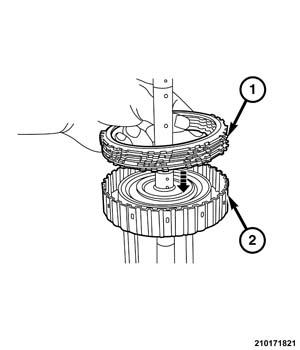
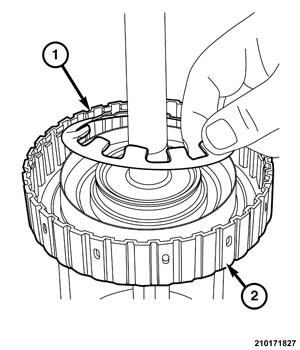
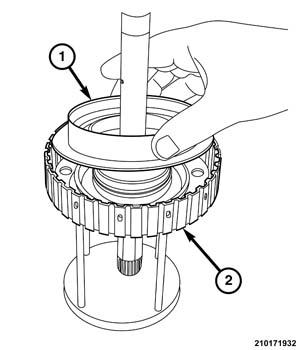
- Remove the 3-5-R clutch reaction plate, discs, and plates (1) from the retainer (2).
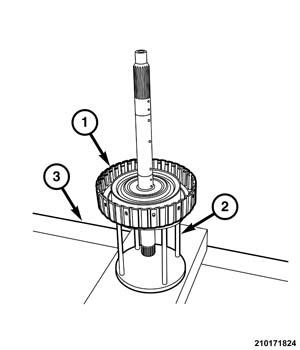
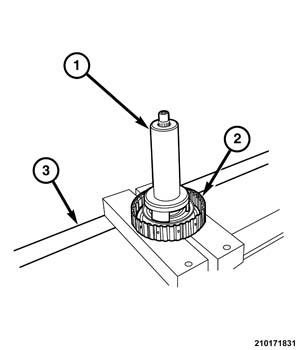
- Place 3-5-R clutch (1) and tool on a suitable arbor press (3).
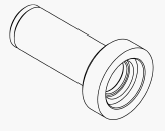
- Position tool over the shaft and onto the 3-5-R clutch balance piston.
(special tool #8680, Installer, Damper)
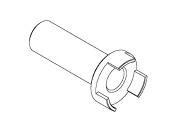
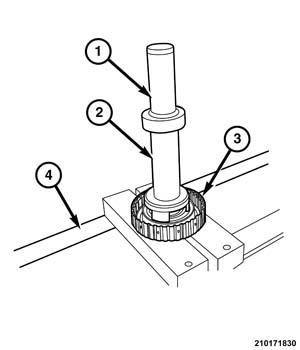
- Position tool over the shaft and onto the tool 8680.
(special tool #10117, Installer, Seal)
- Compress the 3-5-R clutch return spring until the snap-ring is free to be removed.
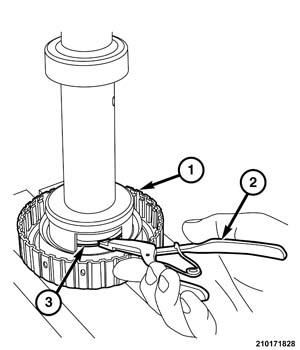
- Using a suitable snap-ring pliers, remove the snap-ring holding the balance piston into the piston.
- Remove the 3-5-R clutch from the arbor press.
- Using a suitable hook tool, remove the 3-5-R clutch balance piston (1) from the piston.
- Remove the 3-5-R clutch return spring (1) from the piston.
- Insert a screw driver (2) through the holes in the back of the 3-5-R clutch retainer (1), and push the piston out of the retainer.
- Remove the 3-5-R clutch piston (1) from the retainer (2).
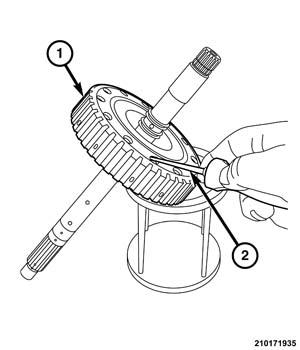
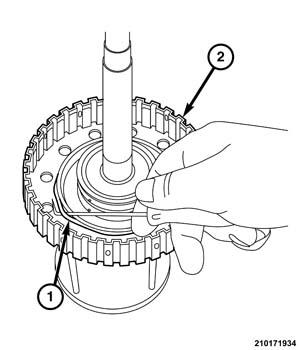
- Using a suitable hook tool, remove the inner D-ring seal (1) from the groove in the 3-5-R clutch hub (2).
- Using a suitable hook tool, remove the outer D-ring seal (1) from the groove in the 3-5-R clutch retainer (2).