Clutch, 3-5 Reverse: Assembly: Assembly
WARNING: This page is about a different variant/trim than selected.
Wash the 3-5-Reverse (3-5-R) clutch components with suitable solvent and blow them dry with 344 kPa (50 psi) regulated shop air. Inspect the steel side of the plates for warping or excessive hot spots (blue) or other damage. Inspect the fiber side of the discs for excessive ware or warping. If damage is evident, the clutch assembly will require replacement.
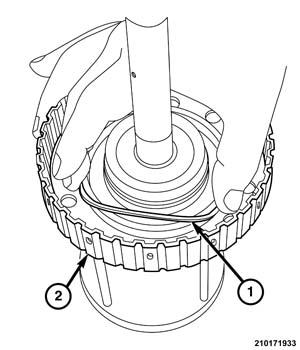
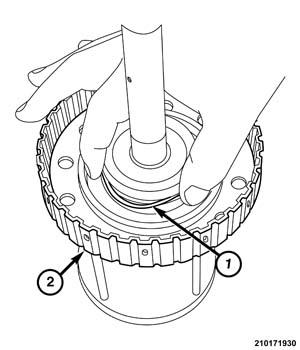
- Install the outer D-ring seal (1) into the groove in the 3-5-R clutch retainer (2).
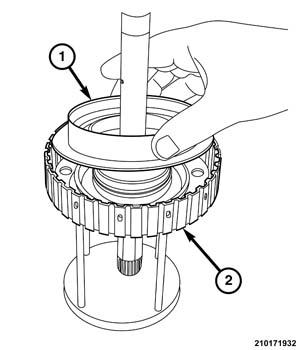
- Install the D-ring seal (1) into the groove in the 3-5-R clutch hub (2).
- Apply a light coat of transaxle fluid on the D-ring seals.
- Install the 3-5-R clutch piston (1) into the retainer (2).
- Install the 3-5-R clutch return spring (1) into the piston.
- Install the 3-5-R clutch balance piston (1) into the piston.
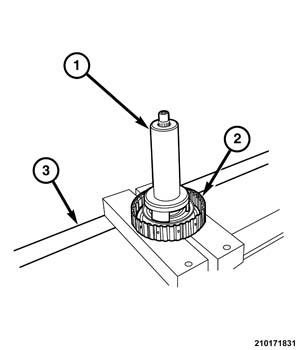
- Place the 3-5-R clutch on a suitable arbor press.
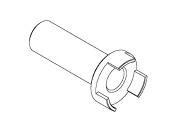
- Position tool over the shaft and onto the 3-5-R clutch balance piston.
(special tool #8680, Installer, Damper)
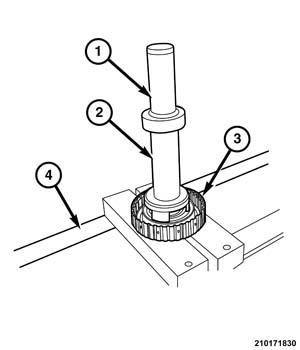
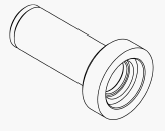
- Position tool over the shaft and onto the tool 8680.
(special tool #10117, Installer, Seal)
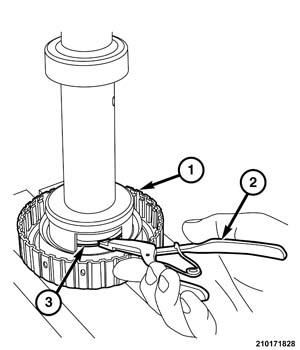
- Compress the 3-5-R clutch return spring until the snap-ring groove is open to receive the snap-ring.
- Using a suitable snap-ring pliers, install the snap-ring to hold the balance piston into the piston.
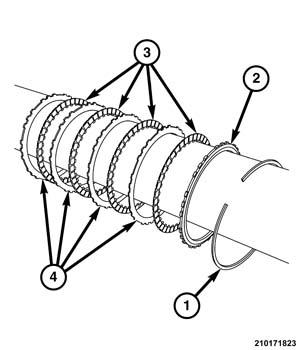
- Starting with an outside lug disc, stack (in alternating order) four outside lug plates (4) and four inside lug discs (3). Place the reaction plate (2) on top of the stack, stepped side up.
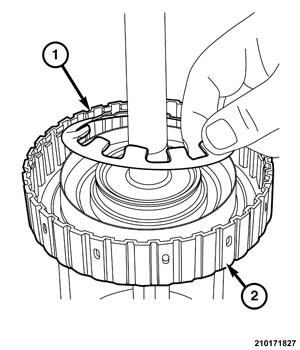
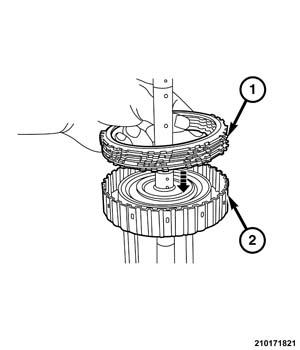
- Install the 3-5-R clutch reaction plate, discs, and plates (1) into the retainer (2).
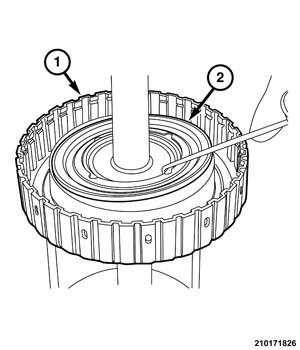
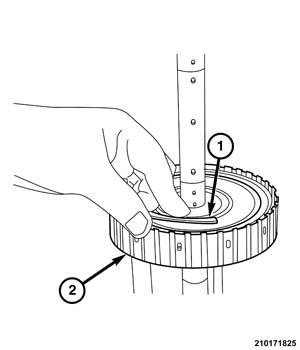
- Install the snap-ring (1) to hold the reaction plate into 3-5-R clutch retainer (2).NOTE:
Verify that end play is within specifications. Refer to SPECIFICATIONS .
- Install the 3-5-R clutch into the transaxle.NOTE:
Before installing the valve body, perform an air test to determine that the seals were installed properly. Refer to DIAGNOSIS AND TESTING .
- Assemble the transaxle.
- Install the transaxle in the vehicle.