Valve Body: Removal: Removal
WARNING: This page is about a different variant/trim than selected.
- Remove the engine cover/air cleaner from the vehicle. For 2.0L, refer to BODY, AIR CLEANER, REMOVAL . For 2.4L, refer to BODY, AIR CLEANER, REMOVAL .
- Drain the fluid from the transaxle. Refer to FLUID, STANDARD PROCEDURES .
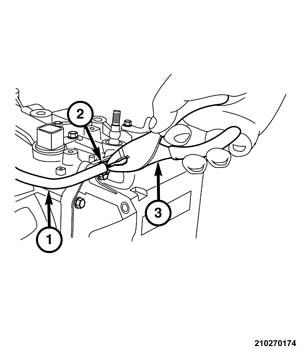
- Using common pliers (3), compress the hose spring clamp (2) and slide it down the vent hose (1) away from the nipple adaptor.
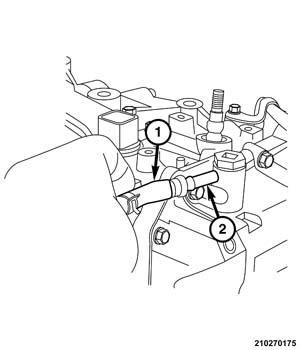
- Pull the vent hose end (1) off of the nipple adaptor (2).
- Position suitable drain pan under the valve body cover to catch fluid that may spill as the cover is removed.
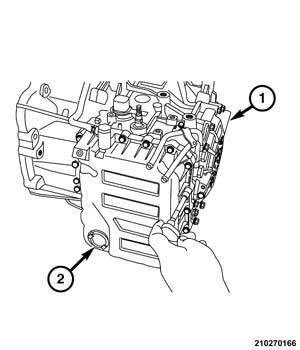
- Remove bolts holding the valve body cover (2) to the transaxle (1).
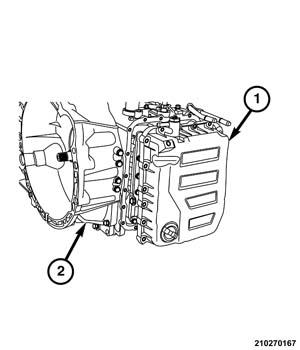
- Separate the valve body cover (1) from the transaxle (2).
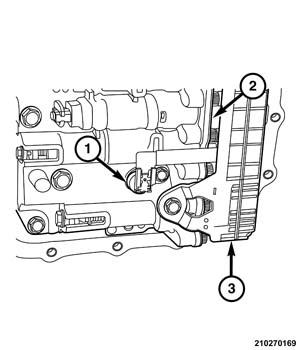
- Remove bolt holding fluid temperature sensor (1) to the valve body (2).
- Pull temperature sensor (1) straight out of the port in the valve body (2).
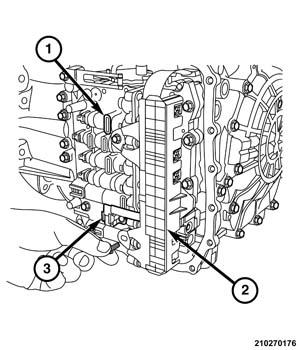
- Remove bolts holding the solenoid valve connector (2) to the valve body (1).
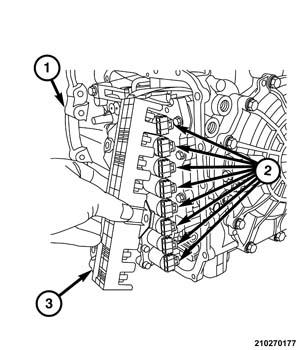
- Starting at the bottom solenoid valve, using a suitable prying tool, pry outward at each solenoid (2) until the connector (3) is disengaged.
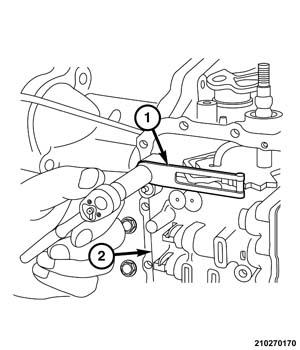
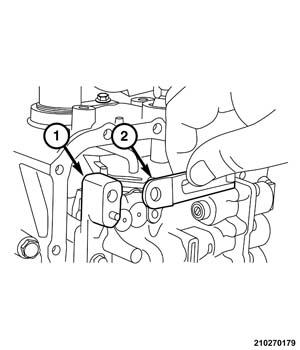
- Remove the screw holding the manual shaft detent spring (1) to the valve body (2).
- Separate the detent spring (2) from the valve body (1).
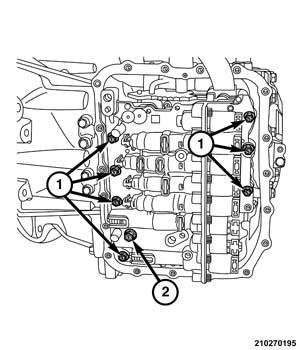
- Remove bolts, 7 short (1) and 1 long (2) bolts, holding the valve body to the transaxle.
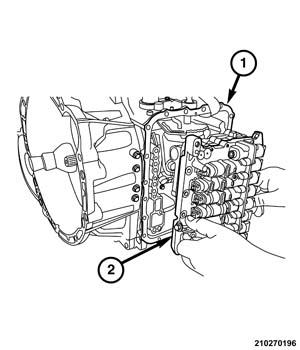
The manual valve is loose after the valve body is removed and may fall out during removal.
- Separate the valve body (2) from the transaxle (1).
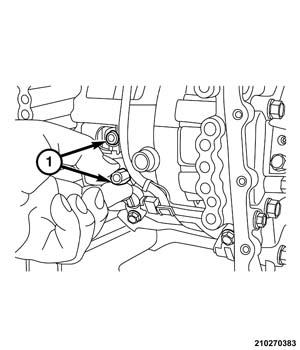
- Remove the two seals from the transfer ports in transaxle housing.