Valve Body: Installation: Installation
WARNING: This page is about a different variant/trim than selected.
Verify that all of the valve body mating surfaces are clean and are undamaged on the transaxle housing and the valve body. If the surfaces are damaged the transaxle housing or valve body will require replacement.
- Install the two seals into the transfer ports in transaxle housing.
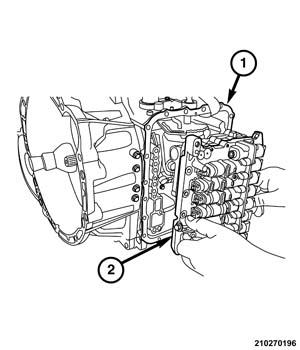
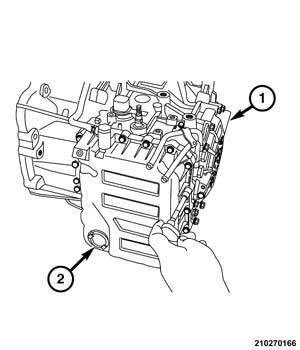
- Place the valve body (2) in position on the transaxle (1).NOTE:
The manual valve is loose after the valve body is installed and may fall out during removal.
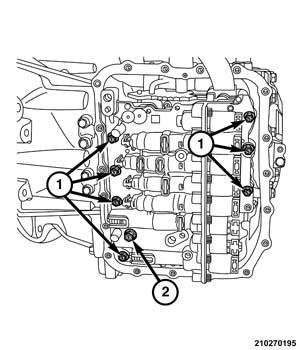
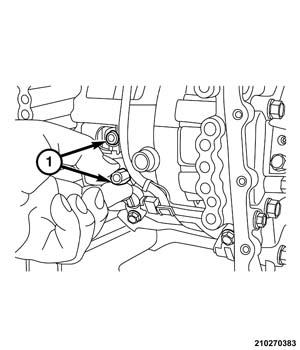
- Install bolts, 7 short (1) and 1 long (2) bolts, to hold the valve body to the transaxle. Refer to SPECIFICATIONS .
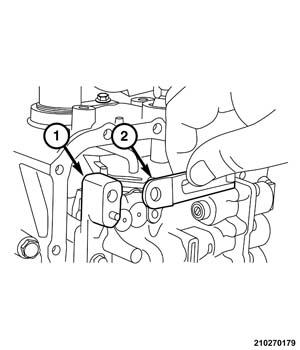
- Place the detent spring (2) in position on the valve body (1).
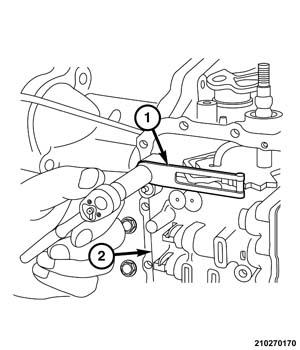
- Install the screw to hold the manual shaft detent spring (1) to the valve body (2). Refer to SPECIFICATIONS .
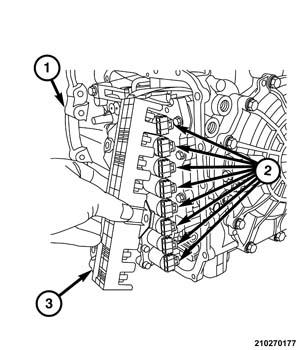
- Starting at the top solenoid valve, push the wire connector onto each solenoid (2) until the connector (3) is engaged.
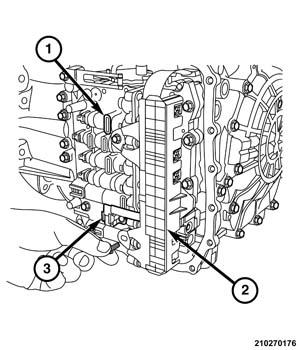
- Install bolts to hold the solenoid valve connector (2) to the valve body (1). Refer to SPECIFICATIONS .
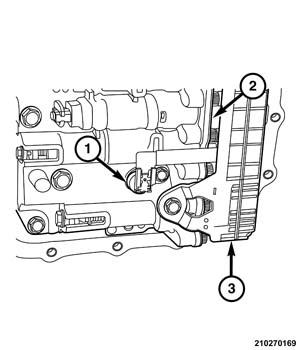
- Push temperature sensor (1) straight into the port in the valve body (2).
- Install bolt to hold fluid temperature sensor (1) to the valve body (2). Refer to SPECIFICATIONS .
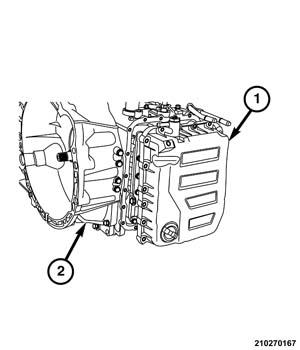
- Install a NEW gasket on the cover and place the valve body cover (1) in position on the transaxle (2).
- Install bolts to hold the valve body cover (2) to the transaxle (1). Refer to SPECIFICATIONS .
- Remove the drain pan from under transaxle.
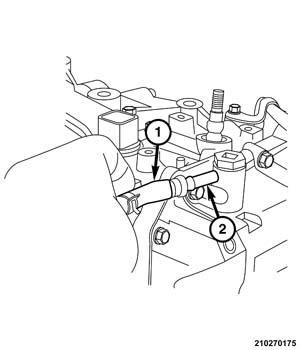
- Push the vent hose end (1) onto the nipple adaptor (2).
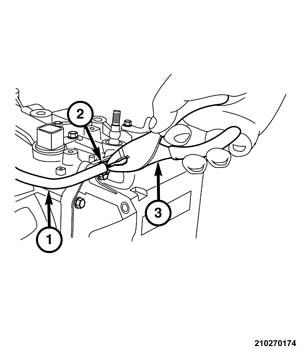
- Using common pliers (3), compress the hose spring clamp (2) and slide it up the vent hose (1) onto nipple adaptor.
- Fill the transaxle with specified fluid. Refer to FLUID, STANDARD PROCEDURES .
- Install the engine cover/air cleaner on the vehicle. For 2.0L, refer to BODY, AIR CLEANER, INSTALLATION . For 2.4L, refer to BODY, AIR CLEANER, INSTALLATION .
- Road test the vehicle to verify the repair.