Carpet, Passenger: Removal: Removal
 Courtesy of CHRYSLER GROUP, LLC
- Disconnect and isolate battery negative cable.
- Remove the front seats (1). Refer to SEAT, FRONT, REMOVAL .
 Courtesy of CHRYSLER GROUP, LLC
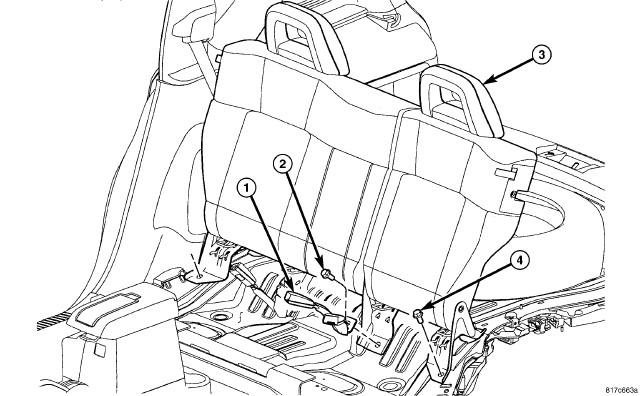
- Remove the rear seat backs (3). Refer to
SEAT BACK, REAR, REMOVAL .
 Courtesy of CHRYSLER GROUP, LLC
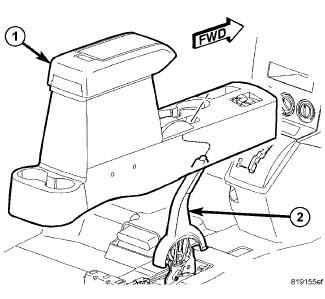
- Remove the floor console (1), Refer to CONSOLE, FLOOR, REMOVAL .
 Courtesy of CHRYSLER GROUP, LLC
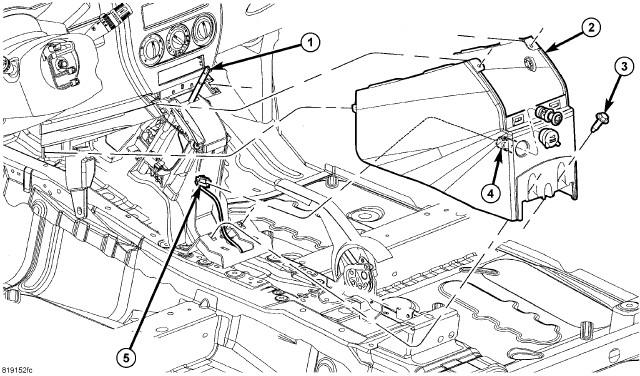
- Remove the shifter housing (2). Refer to CONSOLE, FLOOR, REMOVAL .
 Courtesy of CHRYSLER GROUP, LLC
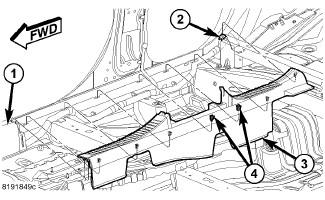
- Remove the lower B-pillar trim (2). Refer to PANEL, B-PILLAR TRIM, LOWER, REMOVAL
.
 Courtesy of CHRYSLER GROUP, LLC
- Remove the door scuff plates (3). Refer to CONSOLE, FLOOR, REMOVAL .
 Courtesy of CHRYSLER GROUP, LLC
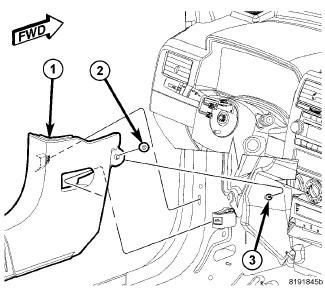
- Remove the cowl side trim panels (1). Refer to PANEL, COWL TRIM, SIDE, REMOVAL .
 Courtesy of CHRYSLER GROUP, LLC
- Remove the liftgate scuff plate (1). Refer to
PLATE, SCUFF, LIFTGATE, REMOVAL .
 Courtesy of CHRYSLER GROUP, LLC
- Remove the quarter trim panels (2). Refer to PANEL, QUARTER TRIM, REMOVAL .
 Courtesy of CHRYSLER GROUP, LLC
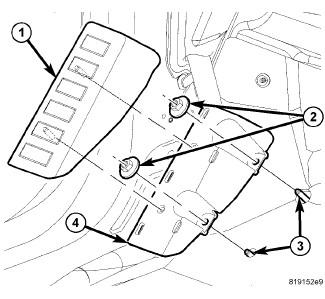
- Remove the foot rest cover (1).
- Remove the nuts (2) and the footrest (4), if equipped.
 Courtesy of CHRYSLER GROUP, LLC
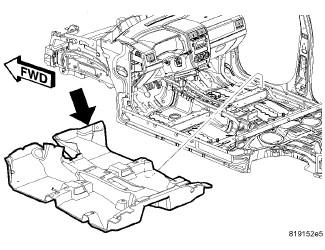
- Remove the carpet.