Active Head Restraint (AHR)
Disable the airbag system before attempting any component diagnosis or service of the front seats, when equipped with front seat air bags. Disconnect and isolate the negative battery (ground) cable, then wait two minutes for the airbag system capacitor to discharge before performing further diagnosis or service. This is the only sure way to disable the airbag system. Failure to take the proper precautions may result in accidental airbag deployment and possible serious or fatal injury. Refer to WARNING .
Improper installation of the headrests may result in reduced protection of the occupants. If, after installation, the headrest can be removed, without simultaneously pressing the buttons on the master and slave guide sleeves, then the head restraint is installed incorrectly. Failure to follow these instructions may result in possible serious or fatal injury.
For reset procedures, refer to RESTRAINT, ACTIVE HEAD, STANDARD PROCEDURE .

Special care should be taken not to damage to the AHR connector.
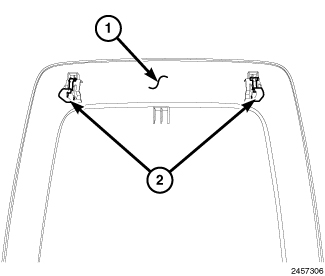
- Position the AHR electrical connector (1) into the slave headrest sleeve (2).
- Insert the AHR (1) rods into the sleeves (2) and seat into the lowest notches fully.NOTE:
At the full down position, there will be a gap between the AHR trim and the seat back trim. (The AHR trim doesn't have a touch condition with the seat back trim.)
- Push the adjust button and seat the AHR (1) down fully and then verify that the adjustment functions properly.
- Connect the AHR electrical connector (1).
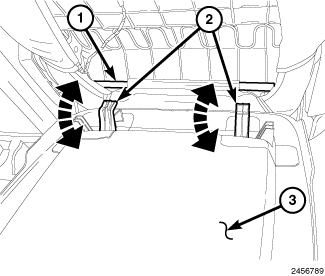
- For seats with a hard back panel (1) verify that the retaining clips (2) are installed onto the panel (1).
- Position the lower seat back panel (3) support hooks (2) onto the seat back frame (1).
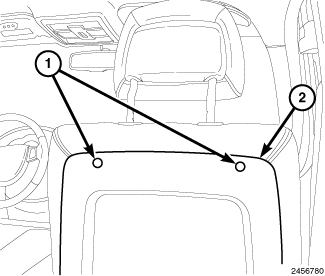
- Rotate the seat back panel (2) up and position the retaining clips into the holes in the seat back frame (1).
- Seat the retaining clips (1) fully.
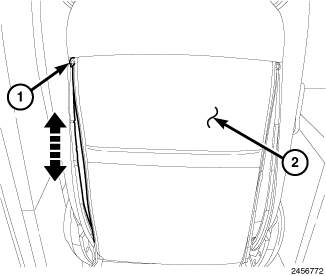
- For seats with a soft back cover (2), close the zipper and tuck up into the seat back.
- Using a scan tool, check for electrical continuity and clear any diagnostic trouble codes.